
AUTHORS:


Project Overview
In this article series, we will guide you through the development of a fully functional web application using LSEG Workspace SDK and its components. Our use case is an Option RIC search workflow, which is currently a challenge because the options disappear after expiry and there is not a single API call for accessing those. Instead, one must reconstruct the option RICs by following specific structure rules and exchange-specific regulations. To simplify the process, we built a single API call for accessing both current and expired options.
Our web application will enable users to locate and reconstruct option RICs for equities and indices, including expired options, across multiple exchanges. It will also generate pricing charts and seamlessly integrate with various LSEG Workspace Apps, such as Asset Overview (OW), Financial Charts (CHT), Quitline (Q), and Option Pricer (OPR).
The current version covers the following exchanges:
- US OPRA - refer to RULES7, RULES2, RULES3, RULES4 in Workspace, and Guideline for strikes above 10000 in MyRefinitiv.
- EUREX - refer to RULES2, RULES3, RULES4 in Workspace, and general option RIC structure in MyRefinitiv.
- Osaka Exchange - refer to RULES2, RULES3, RULES4 in Workspace, and RIC structure for Osaka exchange in MyRefinitiv.
- Stock Exchange of Hong Kong - refer to RULES2, RULES3, RULES4 in Workspace, and RIC structure for HK exchange in MyRefinitiv.
- Hong Kong Future Exchange - refer to RULES2, RULES3, RULES4 in Workspace, and RIC structure for HK exchange in MyRefinitiv.
- Intercontinental Exchange (ICE) - refer to RULES2, RULES3, RULES4 in Workspace, and general option RIC structure in MyRefinitiv.
Project Structure
This project is build using Node.js in the backend and React.js in the front end. We are using MongoDB to store reconstructed options RICs and metadata. In the scope of this project, we fully utilize the capabilities of LSEG Workspace SDK, including its main components: the Element Framework for LSEG UI elements, Workflow Library to navigate to Workspace from our app, and Data Library for Typescript to show live data in the browser.
We also use the Refinitiv Data Library for Typescript with an enterprise license to retrieve options data in the back-end.
The diagram below describes the overall structure of the project and the information flow:

About the Workspace SDK and the main components
Since we will be heavily relying on the Workspace SDK in our app, it is worth a deep dive into it and its main components. Workspace SDK is an end-to-end financial application development kit that allows us to design a GUI, power it using our market data, and integrate the logic into the application workflow. Workspace SDK can be used to design apps which are powered by LSEG Data, are integrated with other apps, and can be hosted both in and out of LSEG Workspace.
The image below presents the main components of the Workspace SDK.
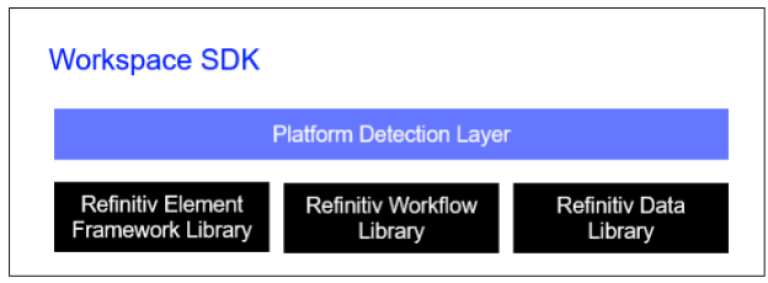
The platform layer contains a cross-platform facade which standardises the SDK interfaces for Workspace web and desktop. With regards to the components, they can be used both as part of the SDK as well as standalone components. We will be using the LSEG Data Library as a standalone component in the scope of this project. Since we will be using all these components, it is worth mentioning about them in a bit more detail:
Element Framework Library
The Element Framework (EF) offers developers a set of UI components and tools that follow LSEG's design system, enabling to create applications quickly and with greater efficiency. These components are constructed with browser-native technology, making them lightweight and compatible with any web framework. The EF is supporting main web development frameworks such as React, Angular and Vue. You may find usage guides for each of these frameworks under the respective subtabs of the Tutorial tab provided here. In the scope of the current project, we will be using EF with React framework.
The Workflow Library
Workflow Library provides users with integration capabilities with LSEG Workspace, including multi-context linking and navigation. For instance, it allows opening and/or broadcasting Workspace apps from your application as well as embed apps like Financial Charts, News, Quotes etc. directly into your application.
Refinitiv Data Library
The Data Libraries are software libraries that grant developers access to market data. These APIs and libraries provide different access points and cater to both financial coders and professional developers across multiple programming languages such as Python, TypeScript or JavaScript and .NET languages. The image below presents the primary features of the library.
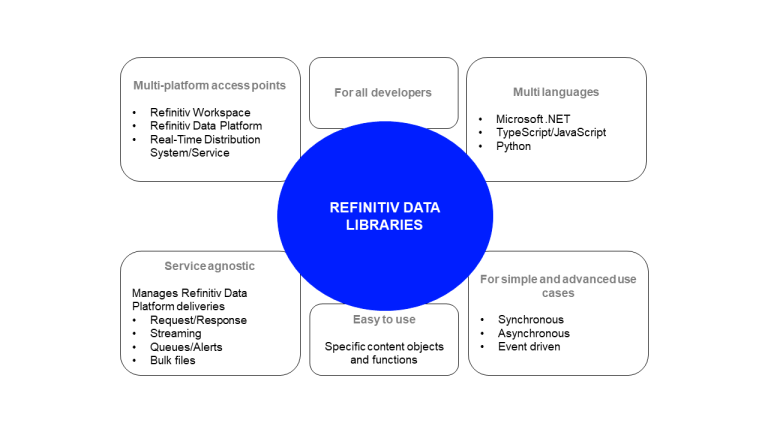
In the scope of the Workspace SDK within our project we will be utilising the Library for Typescript.
Project Article Structure
This project will be presented in a series of four articles. In each article we will provide relevant information on the technical implementation as well as the source code to implement the project on a local machine.
Article 1: Streamlining Historical Options Data Retrieval and Storage with RD Libraries and MongoDB
In this first article, we will explain how to use Refinitiv Data Libraries for Typescript to ingest and process data before building the front-end and back-end of our application. We will cover topics such as connecting to the API, ingesting data using symbology conversion, searching, and historical pricing capabilities. We will also provide functions, which use the capabilities of the Data Libraries, for reconstructing and validating options RICs that trade on the beforementioned supported exchanges, . Finally, we will present how to define a MongoDB Schema and store our output in it.
This article will cover the process of building a back end using Node.js, the Express framework, and Mongoose. It will provide an overview of these technologies and explain how to set up and configure a server, create routes, and interact with a MongoDB database using Mongoose. Additionally, it will cover error handling, data validation and explain how to set and manage cookies.
Article 3: Building web application using React JS and UI Elements
This article will demonstrate how to start a React application and build the essential web app components such as layout pages, footers, and navbars. It will also explain how to use Refinitiv UI Elements, including buttons, cards, charts, and dialogue boxes. Moreover, it will provide helper functions for creating tables and handling submit, click, and delete actions. All these concepts will be presented through a code walkthrough.
Article 4: Enhancing web app functionality: Leveraging the SDK to integrate with workspace web
In the final article of our series, we will further enhance our web application by integrating the Workspace SDK. This integration will allow us to initialise the SDK, define context opening and broadcasting functions, and host Workspace native apps in our application using Iframes. Our step-by-step guide will provide you with all the necessary information to successfully enhance your web app's functionality
Getting ready to implement the project
The application supports Chrome/Microsoft Edge (Chrome-based version), Firefox, and IE11. To start the implementation of this project, we should start by installing and setting up the following dependency software:
- Node.js runtime which also includes npm package manager - tested on 18.15.0,
- MongoDB Community Edition - tested on 6.0.5.
The project, which is fully available in GitHub includes complete TypeScript source code, an Express.js web server application file and routes, CSS files, and all the required static dependencies. All dynamic dependencies for compiling and building the source files are defined in package.json files respectively for the backend and frontend. These dependencies can be installed via the npm install command.
Guide for running the project
In the articles presented above we will walk through the entire process and show how to build the web application from scratch, however, you can run and test the application, prior to building, following these steps:
1. Make sure you have installed the dependency software, such as Node JS and Mongo DB.
2. Download or clone the example project folder from GitHub into a directory of your choice.
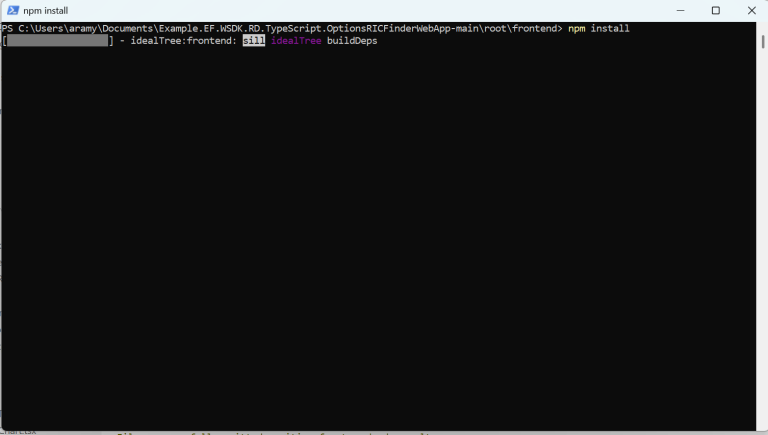
3. Run $> npm install in the command prompt to install all the dependencies required to run the sample in a subdirectory called node_modules/. Please note that you will need to run $> npm install in both backend and frontend folders to install dependencies for the backend and frontend, respectively.
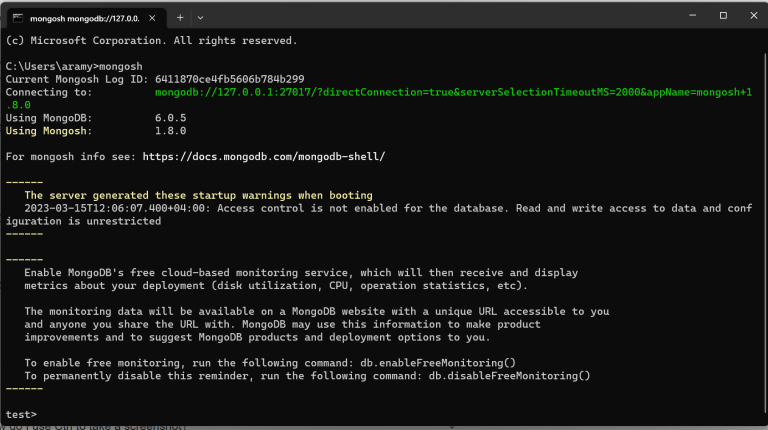
4. Connect to a MongoDB deployment following the guide here.
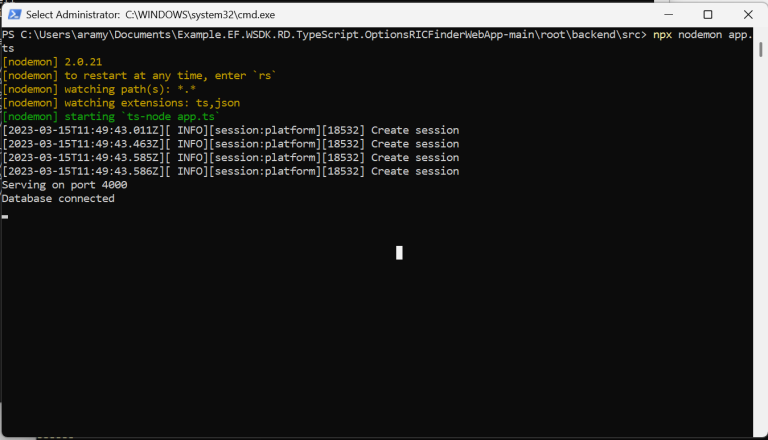
5. Initialize the backend - navigate to root/backend/src folder in the command prompt and run the following command:
npx nodemon app.ts
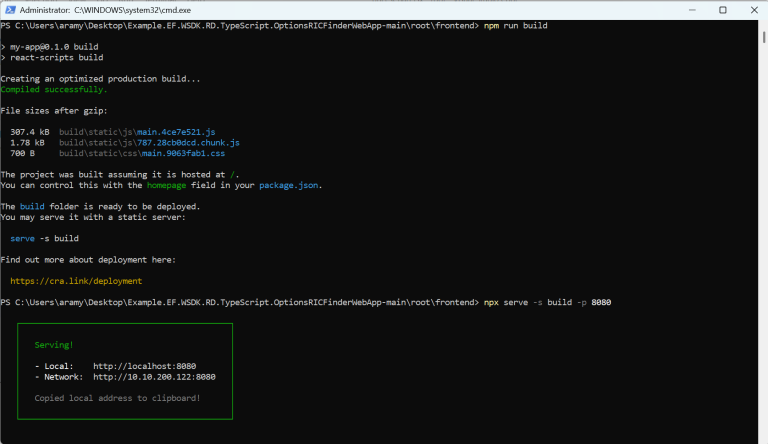
6. To start the frontend, launch the app - navigate to root/frontend folder in the command prompt and run npm run build in the command prompt.
npm run build
To serve the application on port 8080 run npx serve -s build -p 8080 .
npx serve -s build -p 8080
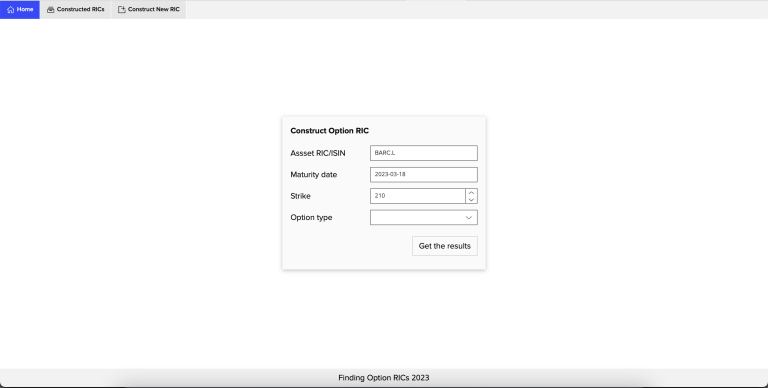
7. Open the application on a browser using local host with 8080 port number:
References
For further details, please check out the following resources:
- Refinitiv Data Library for Typescript
- Refinitiv Element Framework
- Workspace SDK
- TypeScript programming language: Documentation.
- Developer Article: Functions to find Option RICs traded on different exchanges
For any questions related to this article or the used APIs, please use the Developer Community Q&A Forum.
- Register or Log in to applaud this article
- Let the author know how much this article helped you